
How to move the students video!
EDIT: WITH THE NEW CAMBLY CLASSROOM THIS POST IS NOW OUTDATED. THE NEW 2023 CLASSROOM HAS THIS FEATURE BUILT IN.
OK, so right from the start I have to say that this tip has come via Cambly Corner. I’ve seen it a few times but I’m not aware of the original poster. If anyone has that info, please contact me and credit will be given. I’m aware that a lot of tutors are not on facebook, or part of Cambly Corner, so this is for you. 🙂
For a long time now I’ve been jealous of all those people with a second monitor (yes you know who you are) that can open an article on one screen while having Cambly on the other. How cool is that! You can see the student and the article they’re reading at the same time! No more back and forth between tabs. Soooo jealous… Well I was, but not anymore! Now I can move the student’s vid around my screen and it always stays on the top, even if I change tabs!!! How do you do this magic I hear you cry. Well here’s how!
Note: pics for illustration purposes only. Images from cambly.com and engoo.com
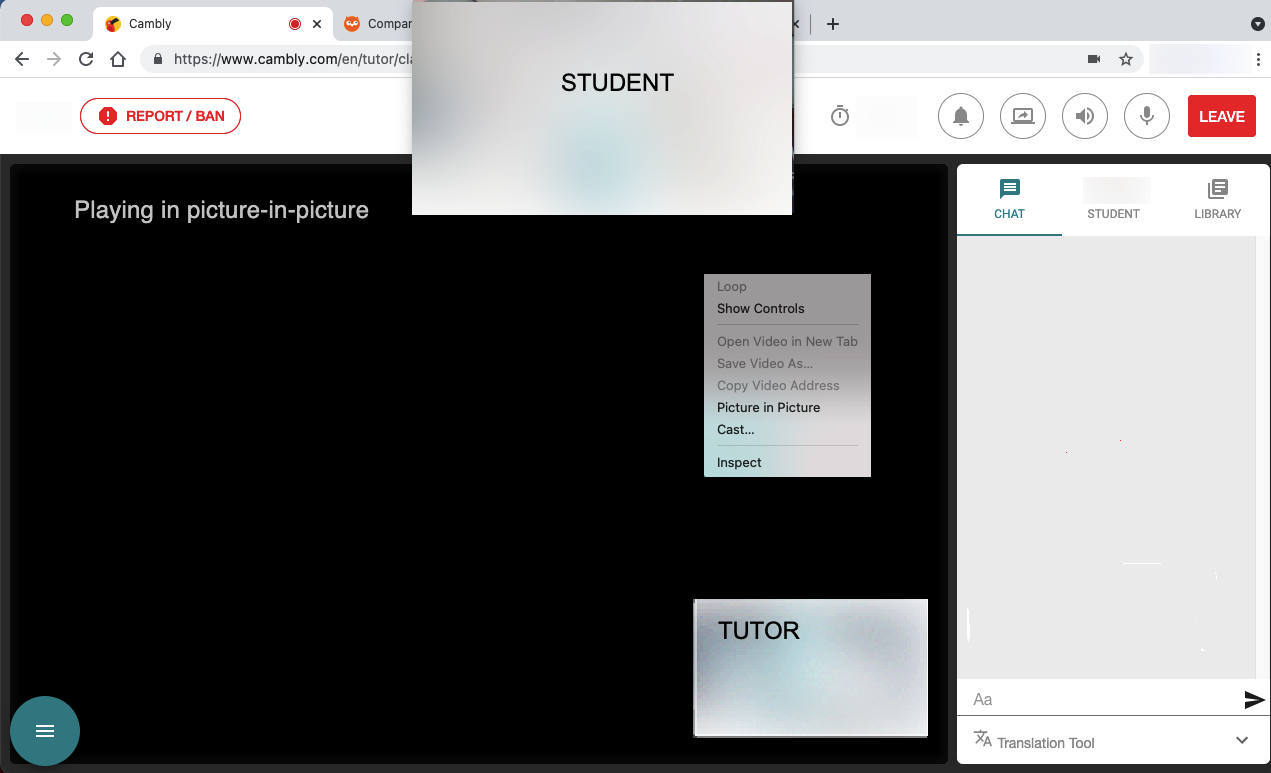
When you are in a class, simply right click on the student video and a menu will open up giving you several options. Simply choose “picture in picture” (PiP) and the student video will now be a separate image that you can drag anywhere on the screen. Pro tip: if you place the PiP at the top of your screen under your camera, it means your student will get the effect that you are looking straight at them, and not staring down at where the picture usually is!
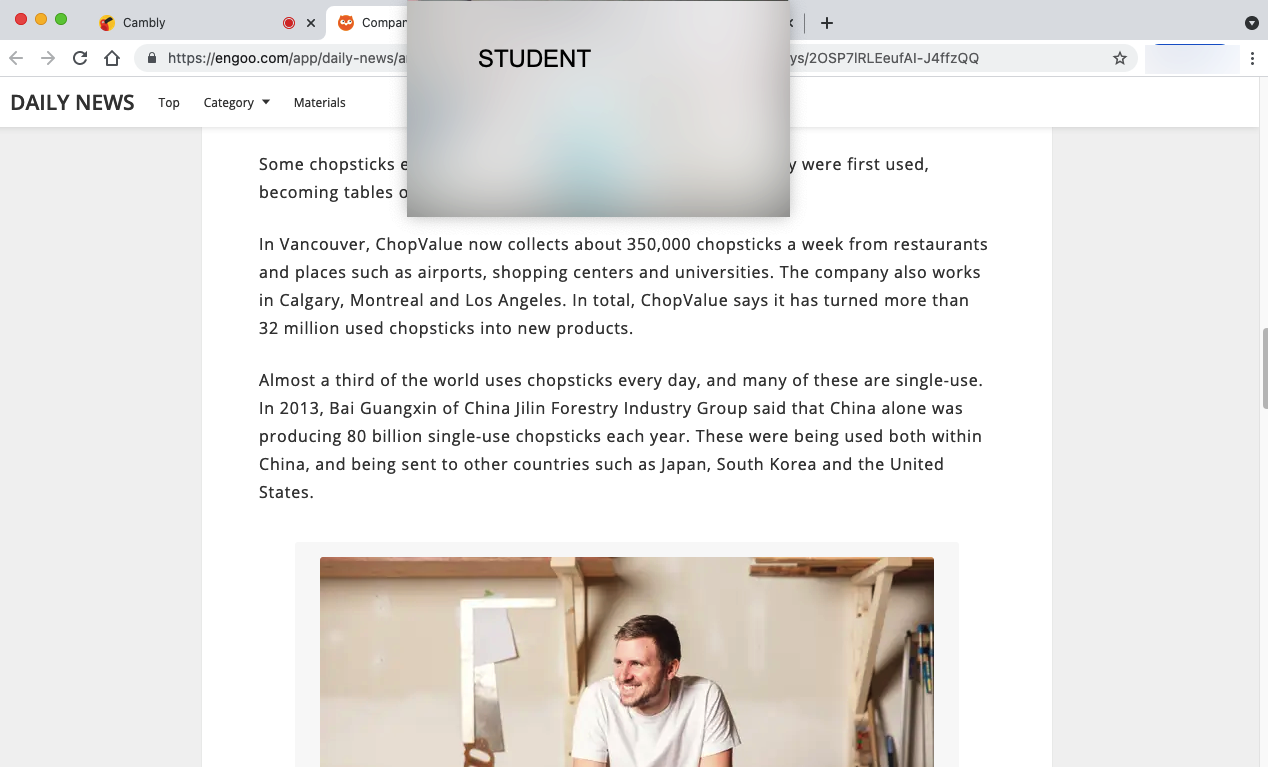
Now that you have your PiP where you want it, you can freely move between tabs and your PiP will stay there. Great for working on an article with the student and still being able to see them!!!
Also, if you want to resize the PiP, just move your cursor over an edge and simply click and drag.
Until next time. Alice.
“Have I gone mad?”

You May Also Like
Cambly FAQ’s March 2023.. Questions from the internet answered!